The Ultimate Guide to Image Optimization for Web and Digital Use

Table of contents
- Introduction: Why Image Optimization Is Non-Negotiable
- The Core Concepts of Image Optimization
- The Step-by-Step Workflow for Optimizing Any Photo
- Practical Use Cases & Common Scenarios
- 3.2 Preparing Photos for E-commerce & Product Pages
- Common Problems and How to Solve Them
- Conclusion: Your Next Step to Faster, More Optimized Photos
Introduction: Why Image Optimization Is Non-Negotiable#
Picture this: You click on a website link, and instead of seeing the page instantly, you’re left staring at a loading spinner. After a few seconds, frustration sets in—you leave.
That’s the harsh reality of today’s internet: speed is everything. And nothing slows a website down more than unoptimized images.
Why optimize images? Because the benefits are massive:
- Faster websites → lower bounce rates.
- Better SEO → higher Google rankings.
- Improved user experience → happier visitors, more conversions.
The importance of image optimization extends beyond SEO. Optimized photos reduce bandwidth costs, improve accessibility, and make your site feel professional.
This guide is your one-stop hub for everything related to image optimization—from fundamental principles to real-world scenarios, common problems, and solutions.
The Core Concepts of Image Optimization#
Before diving into workflows, let’s break down the building blocks.
1.1 File Size vs. Image Dimensions#
A common misconception: file size and dimensions are the same. They’re not.
- Image dimensions = width × height (in pixels).
- File size = how much storage the image takes (in kilobytes or megabytes).
For example:
- A 4000×3000 pixel photo might be 4MB.
- Shrinking to 1200×800 pixels might reduce it to 350KB.
- With compression, you can bring it under 100KB.
If you need strict limits for forms, you can try the 20KB resizer or 50KB resizer.
1.2 Lossy vs. Lossless Compression#
Compression is how you shrink file size. Two main types:
- Lossy compression: Removes some data permanently. Smaller file, slightly reduced quality. (Example: JPEG, WebP lossy mode).
- Lossless compression: Retains all data while packing more efficiently. Larger than lossy, but no quality loss. (Example: PNG, WebP lossless).
When to use each?
- Photos & gradients → lossy.
- Logos, icons, text graphics → lossless.
For a detailed breakdown with examples and visuals, see our guide: What is Lossy vs. Lossless Compression? A Simple Explainer.
1.3 A Guide to Image File Formats#
Choosing the right format is like picking the right outfit for an event.
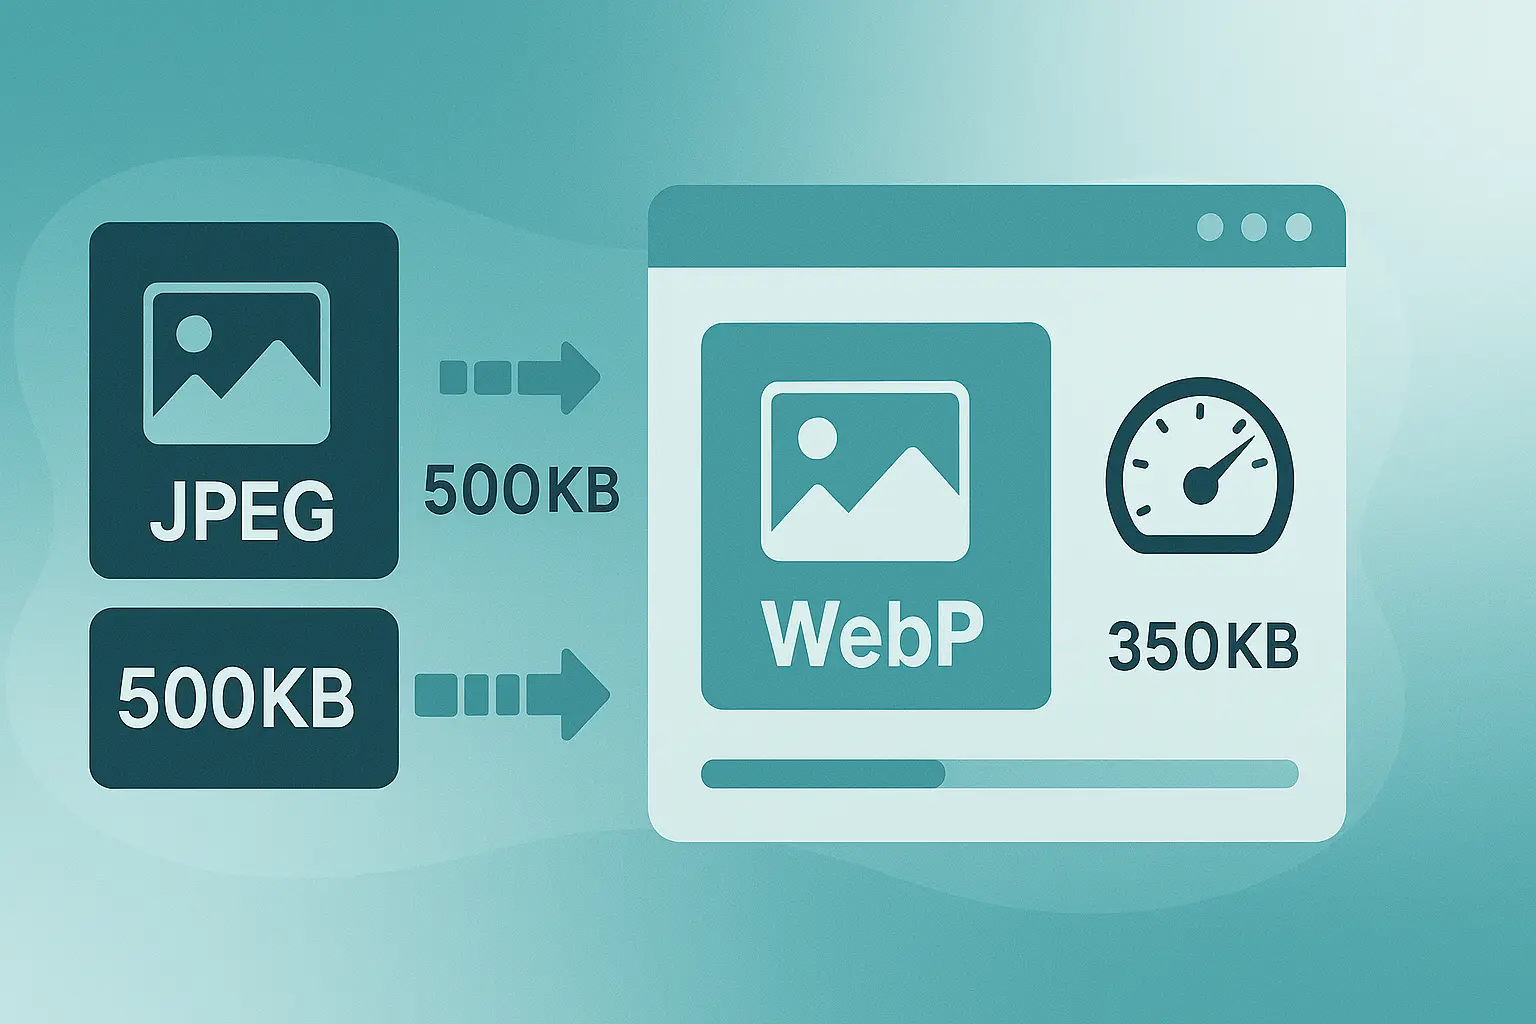
- JPEG/JPG: Best for detailed photos. Small file size, good quality.
- PNG: Great for sharp graphics, transparency. Bigger files.
- WebP: Modern, versatile. Combines small size with high quality.
- SVG: Vector-based, perfect for logos/icons. Infinitely scalable.
Still wondering which format is best for your website? We’ve broken it down in detail in our comparison guide: JPEG vs. WebP: Which Image Format Is Best for My Website?
The Step-by-Step Workflow for Optimizing Any Photo#
Now let’s get practical. Follow this workflow every time:
-
Start with the Right Dimensions
- Don’t upload 5000px images if your site displays only 1200px.
- Resize before compressing to cut most of the weight.
-
Choose the Right Format
- Photos → JPEG.
- Graphics with transparency → PNG.
- Logos/icons → SVG.
- Modern web → WebP.
-
Use a Smart Compression Tool
- Tools like Photo Resizer in KB let you set exact targets (20KB, 50KB, 100KB, 200KB, 500KB).
- They handle the heavy lifting, so you don’t guess.
- For batch tasks, check our guide: How to Resize a Bunch of Photos at Once.
-
Add Descriptive Filenames
- Bad:
IMG_1234.jpg. - Good:
blue-running-shoes.jpg. - Helps SEO and accessibility.
- Bad:
-
Write Alt Text
- Short descriptions help visually impaired users.
- Example: “Red leather handbag on white background”.
-
Implement Lazy Loading
- Only load images as users scroll down. Saves initial load time.
-
Use a CDN
- Content Delivery Networks cache and deliver images from servers closest to your visitors.
Practical Use Cases & Common Scenarios#
Optimization isn’t theoretical—it’s everywhere.
3.1 Resizing for Social Media & Online Profiles#
Social networks have strict size and dimension rules.
- LinkedIn profile photo → 400×400 pixels.
- Instagram posts → 1080×1080 pixels.
- Twitter/X headers → 1500×500 pixels.
Upload a bloated image, and it either looks blurry or fails to upload. Optimized photos keep your brand looking sharp.
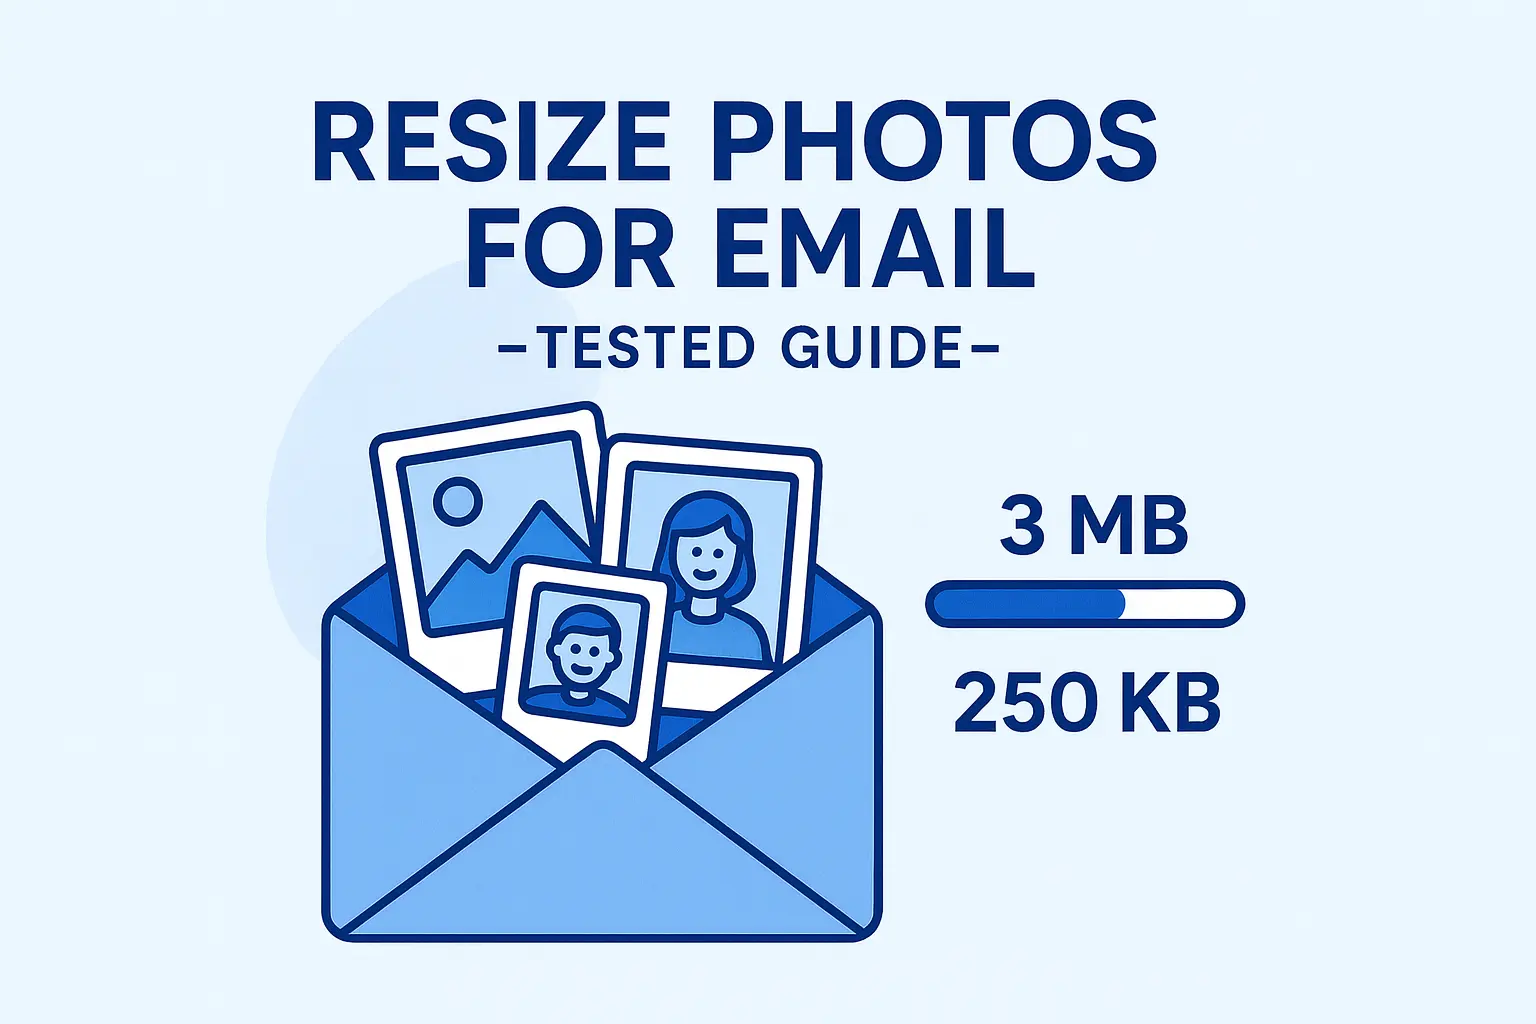
Also useful for emails — see Resize Photos for Email.
3.2 Preparing Photos for E-commerce & Product Pages#
E-commerce lives on visuals. But heavy product images kill conversions.
Example:
- A Shopify store with 200 product photos at 500KB each = 100MB page load.
- Optimize each to 500KB or less → 20–30MB total. That’s 3–5× faster load speed.
Customers stay longer, buy more, and Google ranks you higher.
And it’s not just e-commerce — professional platforms like job portals, online forms, and LinkedIn often cap uploads at around 50KB to balance speed with quality. If you need help, follow our step-by-step guide:
Resize Photo to 50KB Online (With and Without Quality Loss)
📌 Want platform-specific dimensions and optimization strategies for Shopify, Etsy, and more? See our detailed guide:
Resizing Images for Social Media and E-commerce: A Complete Guide
3.3 Optimizing Images for Blog Posts and Websites#
Bloggers often upload 2MB stock photos. Multiply by 10 images, and that’s 20MB per page.
Optimizing cuts that to 2MB total—your readers scroll smoothly, and you rank higher.
For large blog headers or infographics, aim for 200KB.
3.4 Resizing Photos for Visa & Passport Applications#
Visa and passport photos are notorious for strict rules. Embassies often demand exact dimensions (like 35×45 mm or 600×600 px) and strict KB limits (20KB, 50KB, 100KB).
A photo that’s even 1KB over the requirement can trigger rejection.
That’s why tools like the 20KB resizer or 50KB resizer are essential. For a step-by-step breakdown, see our full guide: Resize Photo to 20KB .
📌 For a complete step-by-step workflow—including U.S., Schengen, U.K., and Indian visa requirements—see our full guide: How to Resize a Photo for a Visa or Passport Application.
Common Problems and How to Solve Them#
Even with the best intentions, issues pop up. Let’s troubleshoot.
Problem: “My image looks blurry after resizing.”
- Why: You resized incorrectly or over-compressed.
- Fix: Use proportional resizing. For sharp graphics, use lossless compression.
Problem: “My file is still too big.”
- Why: Hidden metadata (EXIF, GPS, color profiles).
- Fix: Strip metadata with tools like Photo Resizer in KB or Photoshop’s export.
Problem: “Uploads keep failing on forms.”
Problem: “Images look good on desktop but bad on mobile.”
- Why: Serving one oversized image everywhere.
- Fix: Use
srcsetresponsive images so devices get the right size.
For a full troubleshooting guide, see: Why Do My Image Uploads Fail? A Guide to Fixing Common Errors.
Conclusion: Your Next Step to Faster, More Optimized Photos#
At this point, you understand:
- The core concepts of optimization.
- A repeatable workflow.
- Real-world scenarios where it matters.
- And how to fix common problems.
The takeaway? Optimizing images is not optional. It’s the difference between a slow, frustrating site and one that feels fast, professional, and trustworthy.
Try Photo Resizer in KB now — instantly resize your images to exact limits like 20KB, 50KB, 100KB, 200KB, or 500KB. Fast, free, and 100% private.

About Mozammel Hoshen Chowdhury
Software Engineer & Founder
Mozammel Hoshen Chowdhury builds privacy-first web tools and obsesses over keeping heavy browser workflows fast and accessible.
Frequently Asked Questions
What are the benefits of image optimization?
Faster website loading, better SEO, reduced hosting costs, improved user experience, and higher engagement.
Why should I optimize images for the web?
Because unoptimized images slow your site down, hurt rankings, and frustrate users. Optimizing delivers speed, clarity, and conversions.
What’s the best image format for web?
JPEG for photos, PNG for graphics with transparency, WebP for modern performance, and SVG for icons and logos.
How can I resize images to exact KB?
Use an online tool like Photo Resizer in KB to hit precise limits like 20KB, 50KB, 100KB, or more without trial-and-error.
Does optimization reduce image quality?
If done properly, the quality difference is invisible to the human eye. Smart compression keeps clarity while cutting size.