How to Resize a Photo for Print: A Simple Guide
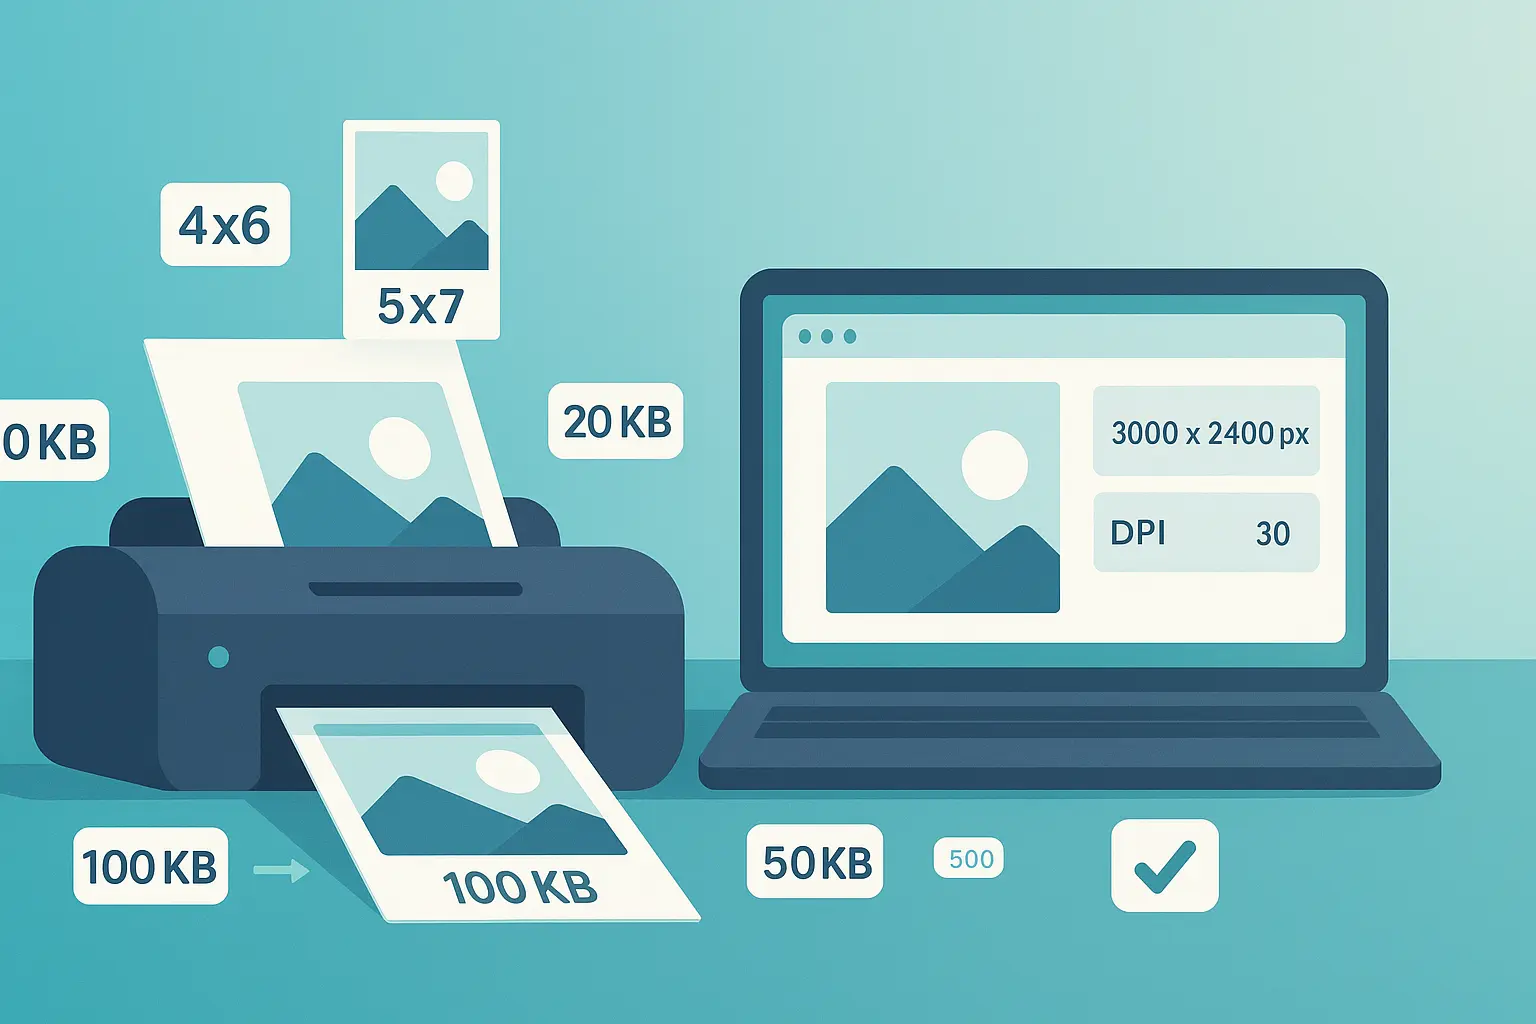
Table of contents
Introduction: The Frustration of Fuzzy Prints#
You finally print your favorite photo—only to find it looks blurry, pixelated, or cropped wrong. Sound familiar?
Getting a great print isn’t about luck or having an expensive printer. It’s about using the right size and resolution. Once you understand pixels, inches, and DPI, resizing for print becomes simple.
This guide will walk you through how to resize a photo for print so you can enjoy crisp, professional-quality results every time.
Section 1: The Core Concepts of Printing#
Before resizing, let’s break down a few key terms in plain English.
1.1. Pixels vs. Inches (Dimensions)#
- Pixels are for screens. A 1200×1800px image looks sharp online.
- Inches are for print. That same photo might look fuzzy if stretched to 8×10.
👉 Rule of thumb: the more pixels, the larger you can print without losing quality.
1.2. The Magic Number: What is DPI?#
DPI means dots per inch. Printers use tiny dots of ink, and DPI tells you how many fit into one inch.
- 300 DPI → crisp photo-quality prints.
- 150 DPI → fine for posters viewed from far away.
- 72 DPI → web images (never good for print).
1.3. When to Use 300 DPI vs. 150 DPI#
- 300 DPI: portraits, albums, professional photos.
- 150 DPI: posters, large wall art where no one’s standing too close.
👉 If you want safe, professional-quality results, stick with 300 DPI.
Section 2: The Step-by-Step Workflow#
Here’s how to resize a photo specifically for print:
-
Check Your Original Photo’s Dimensions
Right-click → Properties (Windows) or Get Info (Mac) to see pixel size. -
Decide on a Print Size
Popular choices: 4×6, 5×7, 8×10, 11×14. -
Do the Math (or Let a Tool Do It)
Multiply the print size (in inches) × DPI (300).- Example: an 8×10 at 300 DPI = 2400×3000 pixels required.
-
Resize Smartly
Upload your photo to Photo Resizer in KB. While our tool is built to resize by exact KB size, it ensures your print-ready photo isn’t unnecessarily heavy for online portals or sharing: -
Save in the Right Format
- PNG or TIFF = best for print.
- JPEG = fine, but avoid over-compression.
Section 3: Common Print Scenarios & Solutions#
3.1. "My Print Is Blurry"#
If your photo looks fuzzy, it’s usually a DPI issue.
- Upsize the photo to 300 DPI.
- Example: a 600×900px photo only prints sharp at 2×3 inches—not at 8×10.
👉 Always check your pixel dimensions before printing.
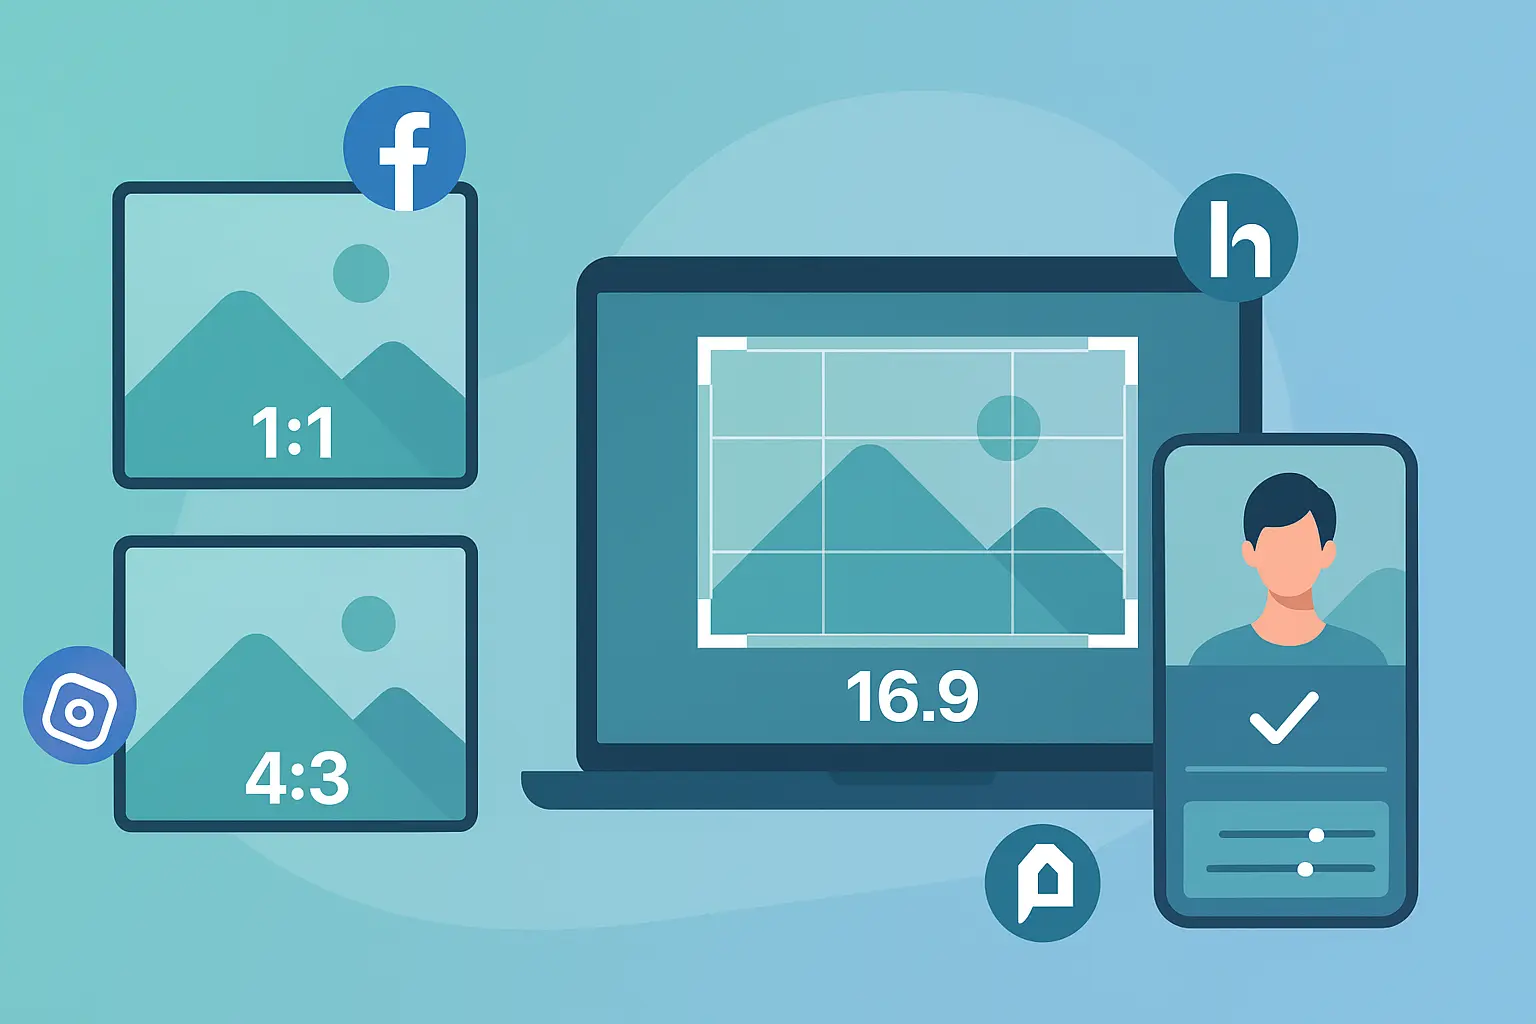
3.2. "My Photo Got Cropped Weirdly"#
Ever print a photo only to find someone’s head missing? That’s an aspect ratio mismatch.
- A 4×6 frame = 2:3 ratio.
- An 8×10 frame = 4:5 ratio.
👉 Crop your photo to match the frame before printing.
3.3. Standard Photo Sizes for Printing#
At 300 DPI, here’s what you need:
- 4×6 → 1200×1800 pixels (good around 100KB)
- 5×7 → 1500×2100 pixels (aim for ~200KB for sharper quality)
- 8×10 → 2400×3000 pixels (closer to 500KB for a clean print)
- 11×14 → 3300×4200 pixels (bigger files, but keep them optimized so they don’t overload uploads)
Conclusion: Perfect Prints, Every Time#
Great prints don’t happen by accident. They happen when you:
- Match pixels to inches.
- Use the right DPI (300 for most photos, 150 for posters).
- Resize and optimize smartly before you upload or share.
If you’re printing family photos, ID cards, or professional shots, you don’t want a fuzzy result—or a file that’s too big to upload.
👉 With Photo Resizer in KB, you can quickly size your images to 20KB, 50KB, 100KB, or 500KB depending on the print and upload requirements.
📌 Want the bigger editing picture before print? Start with our Ultimate Guide to Photo Editing for Beginners.

About Mozammel Hoshen Chowdhury
Software Engineer & Founder
Mozammel Hoshen Chowdhury builds privacy-first web tools and obsesses over keeping heavy browser workflows fast and accessible.
Frequently Asked Questions
Why do my photos look blurry when printed?
Most blurry prints happen because the photo’s DPI is too low. For crisp results, resize your photo to at least 300 DPI before printing.
What is DPI in printing?
DPI stands for dots per inch. It measures how many ink dots a printer uses in one inch of paper. 300 DPI is standard for sharp photo prints.
What DPI should I use for posters?
Posters can look fine at 150 DPI since they’re viewed from a distance. For close-up prints like portraits, always use 300 DPI.
How many pixels do I need for a 4x6 print?
At 300 DPI, a 4x6 print needs 1200×1800 pixels. Lower than that, and the print may look pixelated.
What’s the best format for printing photos?
Use lossless formats like PNG or TIFF to keep all the details. JPEG works too but avoid high compression.